Minishift is a tool to run OpenShift Origin locally as a single node cluster inside a Virtual Machine. It is a good choice for development or doing PoCs locally before deploying things in a real OpenShift cluster. In this post I am going to explain how to install and run it on a Windows 10 Home machine, where no Hyper-V support is available.
The only available alternative to Hyper-V is Oracle VirtualBox. You need to install it before going on with the Minishift installation: follow the instructions in the official website or use the Chocolatey package manager.
If you don't have Chocolatey in the destination machine, you can install it by opening an Admin PowerShell and first checking which execution policy is set, by running the Get-ExecutionPolicy command. If it returns Restricted, then install by executing:
Set-ExecutionPolicy Bypass -Scope Process -Force; iex ((New-Object System.Net.WebClient).DownloadString('https://chocolatey.org/install.ps1'))
The fastest and secure way to install Minishift is through Chocolatey as well. From an Admin PowerShell execute:
choco install -y minishift
At the end of the installation process, double check that everything was fine by executing:
minishift version
This command should print the version of the installed Minishift.
You need now to install, using Chocolatey as well, kubectl, the Kubernetes command-line tool:
choco install -y kubernetes-cli
Finally, you need to install oc, the OpenShift command-line tool (using Chocolatey of course):
choco install -y openshift-cli
Before starting the cluster, set up VirtualBox as default driver for Minishift:
minishift config set vm-driver virtualbox
You can now start Minishift:
minishift start
The first time the start would be slower as the ISO image needs to be downloaded.
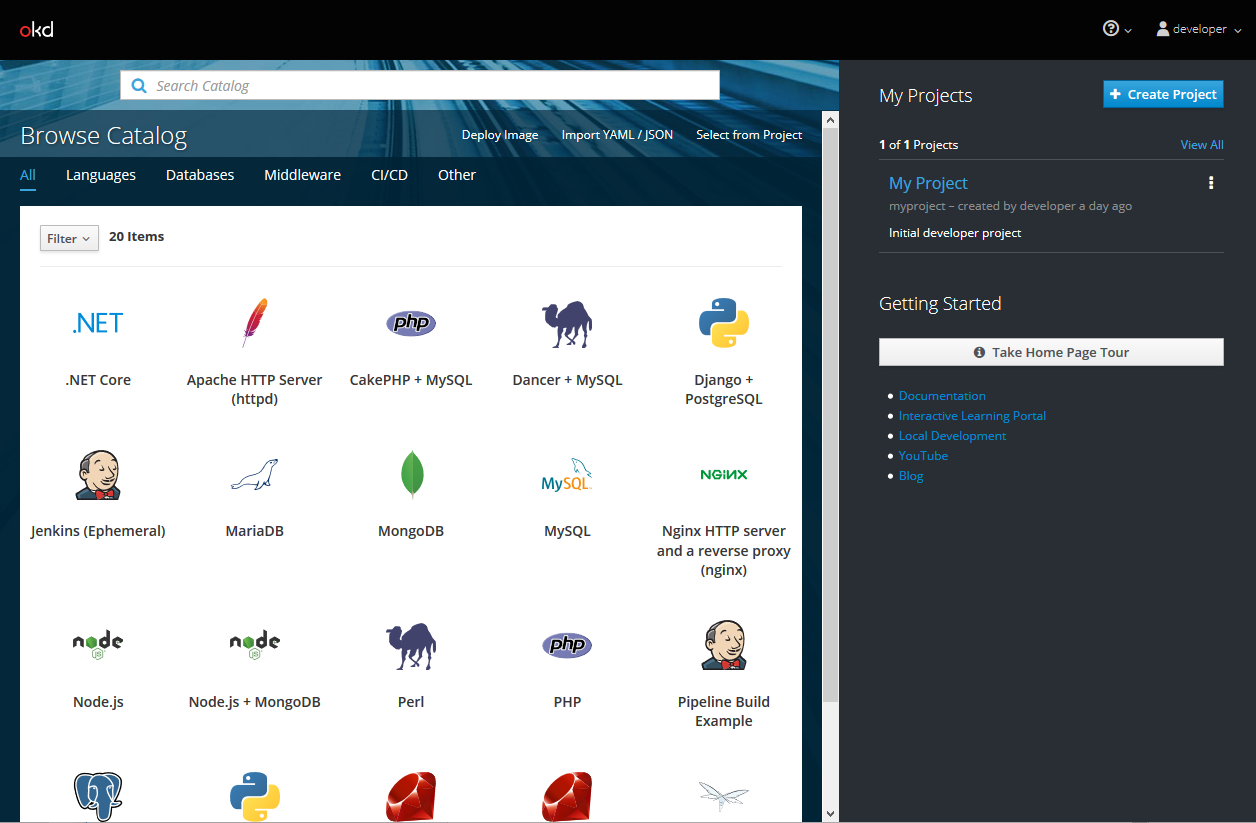
Once the server is up and running, you can access the web UI at the following URL:
https://<minishift_ip>:8443/console
Login using developer as username and any value as password. I suggest to use Firefox or Chrome for the web UI.
You can also login using the oc client.
Minishift is now ready to be used. Enjoy it!
The only available alternative to Hyper-V is Oracle VirtualBox. You need to install it before going on with the Minishift installation: follow the instructions in the official website or use the Chocolatey package manager.
If you don't have Chocolatey in the destination machine, you can install it by opening an Admin PowerShell and first checking which execution policy is set, by running the Get-ExecutionPolicy command. If it returns Restricted, then install by executing:
Set-ExecutionPolicy Bypass -Scope Process -Force; iex ((New-Object System.Net.WebClient).DownloadString('https://chocolatey.org/install.ps1'))
The fastest and secure way to install Minishift is through Chocolatey as well. From an Admin PowerShell execute:
choco install -y minishift
At the end of the installation process, double check that everything was fine by executing:
minishift version
This command should print the version of the installed Minishift.
You need now to install, using Chocolatey as well, kubectl, the Kubernetes command-line tool:
choco install -y kubernetes-cli
Finally, you need to install oc, the OpenShift command-line tool (using Chocolatey of course):
choco install -y openshift-cli
Before starting the cluster, set up VirtualBox as default driver for Minishift:
minishift config set vm-driver virtualbox
You can now start Minishift:
minishift start
The first time the start would be slower as the ISO image needs to be downloaded.
Once the server is up and running, you can access the web UI at the following URL:
https://<minishift_ip>:8443/console
Login using developer as username and any value as password. I suggest to use Firefox or Chrome for the web UI.
You can also login using the oc client.
Minishift is now ready to be used. Enjoy it!
What an article you have written. I really impressed because I was looking for an article about this topic. I am very happy to get your post. Thanks for this awesome and informative article. I will back again for sure.
ReplyDeleteHVAC repair in Greer SC
TORONTO An Iranian
ReplyDeleteWould-be medical exec from Iran barred from Canada over alleged ties to Tehran's nuclear program. Ramin Fallah was labeled a security threat because he ...
You've visited this page many times. Last visit: 5/12/21
Nice informative content. Thanks for sharing the valuable information.
ReplyDeleteNode Js Development
Node Js Framework